Wireless Options:

System Options:
This tutorial is to help you get connected to Nintendo Wifi with a dial-up connection. Even though lots of people think that wifi with dial-up would lag and cause the people with high speed internet to go slow, but that is not true. At normal dial-up speed (56kb) it will go just about as fast as high speed internet; the only thing that will happen if you have a really slow dial-up connection or if you're downloading on the internet at the same time you will just see the other characters of the other people you are connected to go slow or bounce and the other people will just see your character go slow or bounce on their screen.
Language Options (Opciones De la Lengua):
![]()
![]()
Wireless Options:
![]()

System Options:
![]()
![]()
Nintendo wifi with dial-up FAQ
Note:
Do not plug in the USB Connector into your computer until the Nintendo wifi USB Conector Setup tells you to
insert it into your computer's USB Port.
Things you need:
1 computer that has access to the internet
1 wireless router or Nintendo wifi USB connector
1 Nintendo Wii
1 Wifi compatible game
1. Go to a computer that has access to the internet
2. Insert the Nintendo Wifi USB Connector CD-ROM into your computer
3. Click ok when the Nintendo Wifi USB Connector setup starts

4. When the setup asks for your language pick your language and then click ok
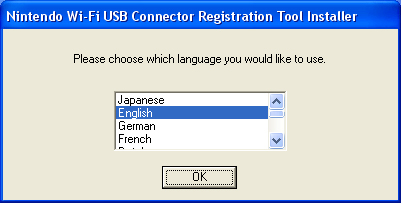
5. The setup will then ask you to insert your Nintendo Wifi USB Connector into your computer, insert your USB Connector into your computer and wait for the setup to install the drivers into your computer.
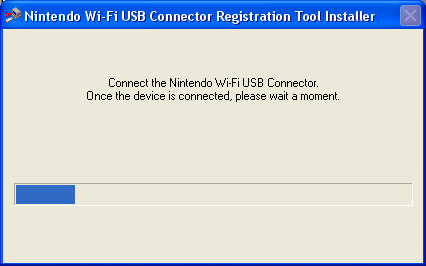
Note:
If you get a error that you are not connected to the internet that means that you are either not connected to the internet or you are using a AOL or AOL like ISP

1. Click Start, then Network Connections, then right click your USB Connector (usually Local Area Connection 3), then click Properties and then click the Advanced tab
2. Click the Protect my computer and network by limiting or preventing access to this computer checkbox so that it's unchecked
3. Now click ok
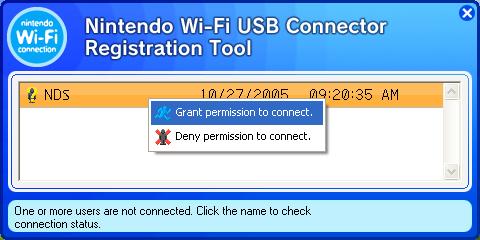
1. Open the Nintendo wifi USB Connector Tool by clicking the blue Nintendo Wifi Connection icon on your taskbar.
2. Turn your Nintendo Wii on
3. Go to Wii Options, then Wii Settings, then Internet, then Connection
Settings, then pick a connection number you want to use, then go to Wireless
Connection and then click Nintendo wifi USB Connector
4. Click ok and then go to your computer and click your Nickname and then click Grant Permission to connect
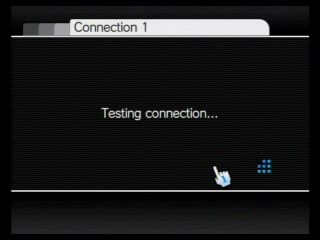
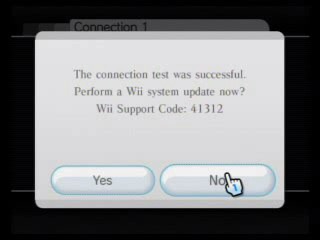
5. After you grant access to your Nintendo Wii, it should then run a connection test, if the connection test is successful then you can now play
games on Nintendo Wifi and use the Wii's online features, and if it not then check to make sure you disabled the USB Connector Firewall
If you have any comments, questions or you need more help you can email me at nickjuly4@hotmail.com